


Follow our step by step guide of how to create an account to read and send e-mails from your computer. Do you already know how, click the box below for account settings.
Account settings for e-mails
Need more help than that? Follow the guide with pictures below.
Username: your e-mail address
Password: your password
Incoming server: m.work2go.net
IMAP-port: 993
Safety Type / authentication: SSL
Utgoing smtp-server: m.work2go.net
Smtp-port: 465
Safety Type / authentication: SSL
 1. Open the program
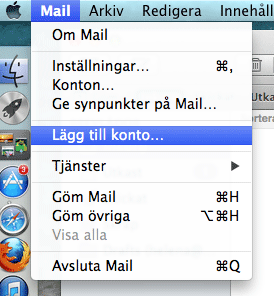
Click Mail > Add Account.
(If it’s the first time you use Mail the wizard will open when you start the program.)
Click image for full version.
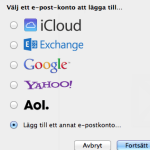 2. Add an e-mail account
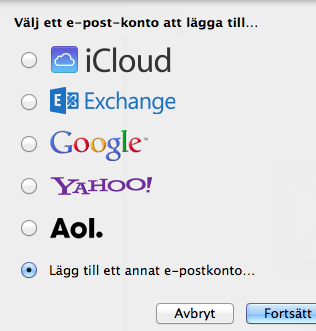
Start by choosing Add another email account > Continue.
Click image for full version.
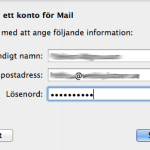 3. Enter email address and password
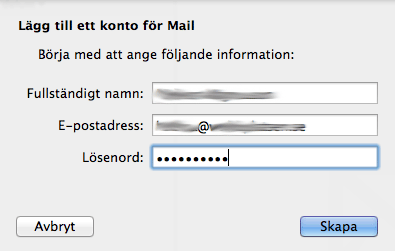
Full name, username/email address and password > Login.
4. Enter email address and password
Fill in the e-mail address and mail server again as shown in the image > Log in.
Mail server: m.work2go.net
5. Specify which functions you want to use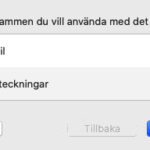
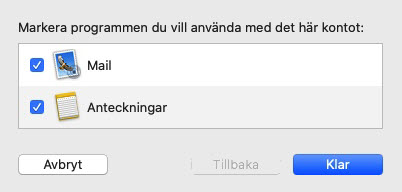
Select which functions you want to use > Done
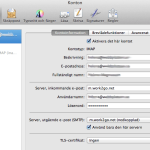 Adjust the settings

To see more settings, go to Mail > Settings at the top of the menu bar of the program. Select your new Work2Go IMAP account so that it is highlighted in blue and the account’s settings are displayed on the right.
Click image for full version.
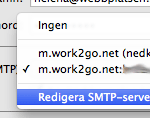 Server, outgoing e-mail (SMTP)
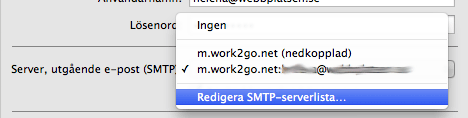
Click the arrows to open the drop-down menu.
Select Edit SMTP Server List.
Click image for full version.
 Click Advanced.
Use custom port: 465 (alt. 587).
Use SSL.
Authentication: select Password from the drop-down menu.
Enter your username/email address and password.
Click OK to save the settings.
Click image for full version.
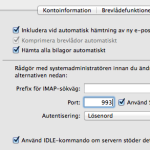 Server, incoming e-mail
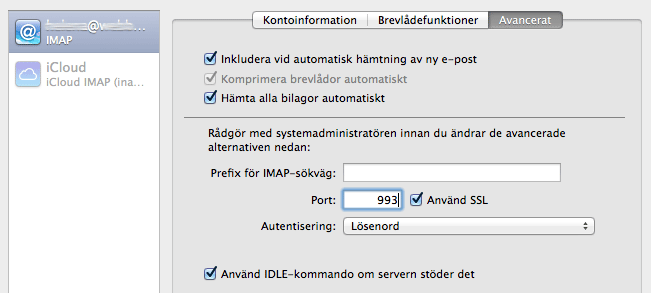
Click Advanced at the top.
Server port: 993.
Use SSL.
Authentication: select Password from the drop-down menu.
Click image for full version.
When you close the box by clicking the red circle in the top corner, you will be asked if you want to save the changes you have made to the account. Click Save.
Comments are closed.