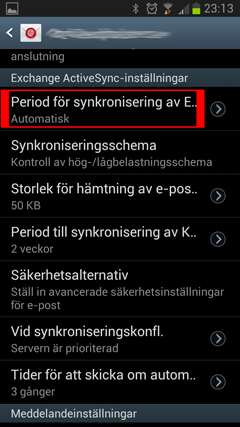
This guide shows you how to add an account for reading and sending e-mails in an Android. Do you already know how to do this? Click on the box below for the account settings.
Account settings for e-mail
Need more help than that? Follow the guide with pictures below.
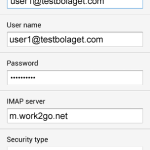
Username: your e-mail address
Password: your password
Incoming server: m.work2go.net
IMAP-port: 993
Security type/authentification: SSL
Outgoing smtp-server: m.work2go.net
Smtp-port: 465
Security type/authentification: SSL
Do you have Work2Go Pro? Then you can also use your Work2Go calendar and contacts in your mobile. Follow the guide for Add account for e-mail, contacts and calendar.
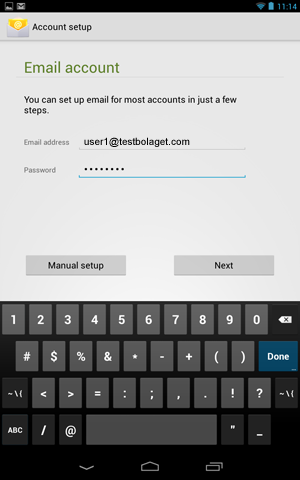
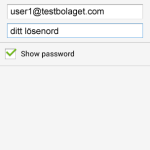 1. Create the account
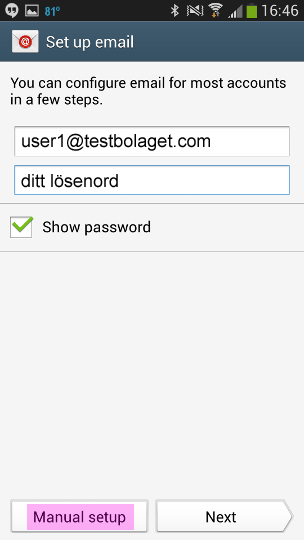
- Click Menu > Account > Menu > Add account.
- Fill in your e-mail address och password to your account.
- Click Manual setup.
Click image for full version.
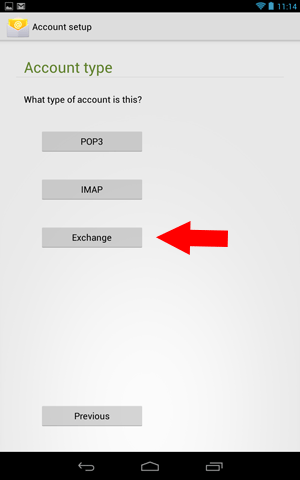
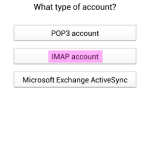 2. Select the account type IMAP
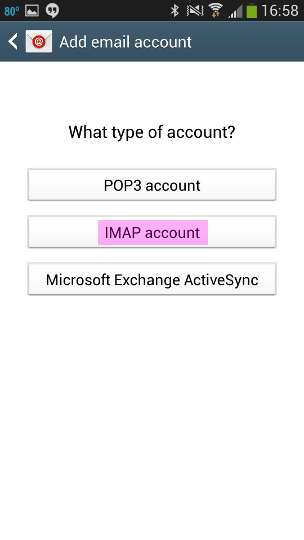
We recommend using IMAP since your messages will be kept on the server, and you can also read your mail when logging in to your account at www.work2go.net
Click image for full version.
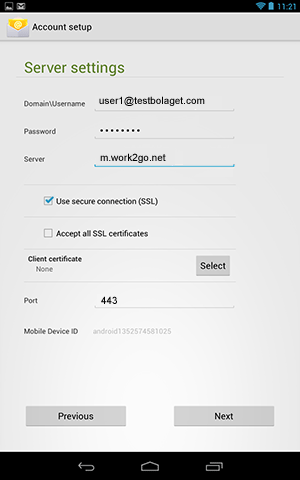
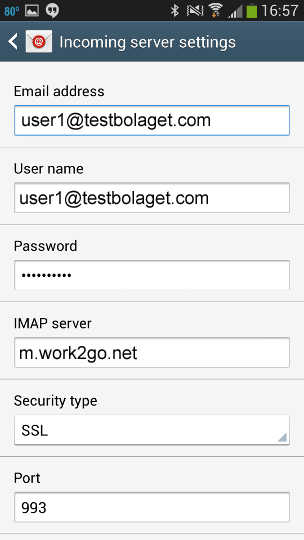
 3. Add your account settings

- Fill in e-mail address and password.
- Incoming server: m.work2go.net
- Select Security Type SSL and Server port 993
- Click Next.
Click image for full version.
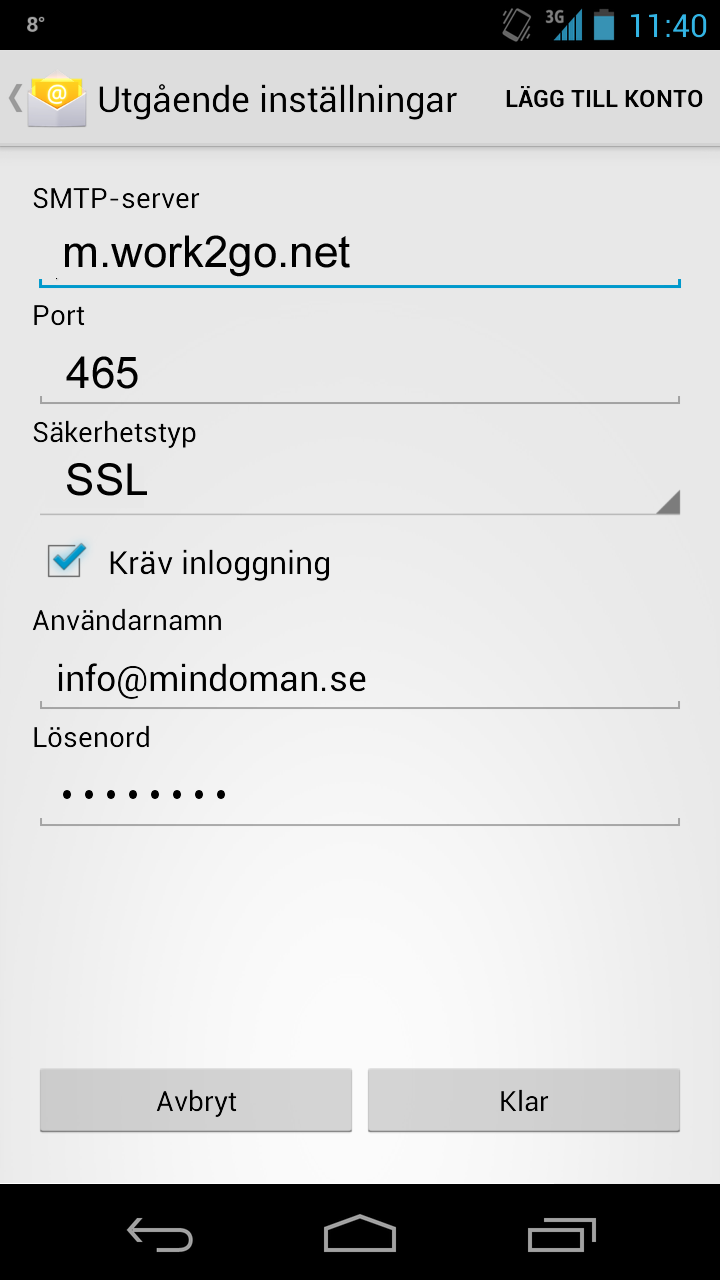
4. Adjust the settings
 Enter account settings for outgoing server.
- SMTP server: m.work2go.net
- Port: 465
- Security Type: SSL
- Choose Requires sign-in
- Fill in e-mail address and password.
- Click Next.
Click image for full version.
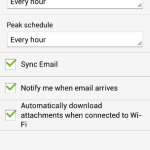 5. Choose how you want to receive your e-mails
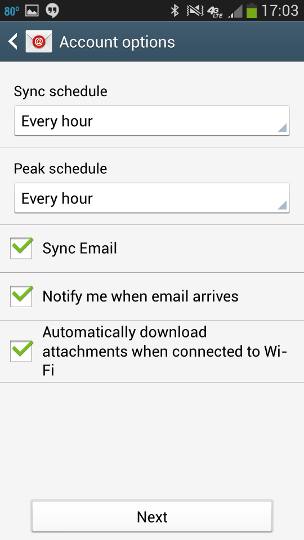
Select appropriate settings for your e-mails.
Click Next to give the account a name and how you want your name to appear when you send e-mails from your mobile.
Click image for full version.
If it doesn’t work
Test your e-mail address and password on www.work2go.net and check all the settings on your phone again. Read more in Can not send or receive e-mails